Custom Fields for Booking Forms in Trafft Booking System
Custom Fields are valuable for gathering necessary customer information before appointments and are also known as Extra Form Fields or Intake Forms. You have the option to create questions or inputs that will be incorporated into the final stage of the booking form.
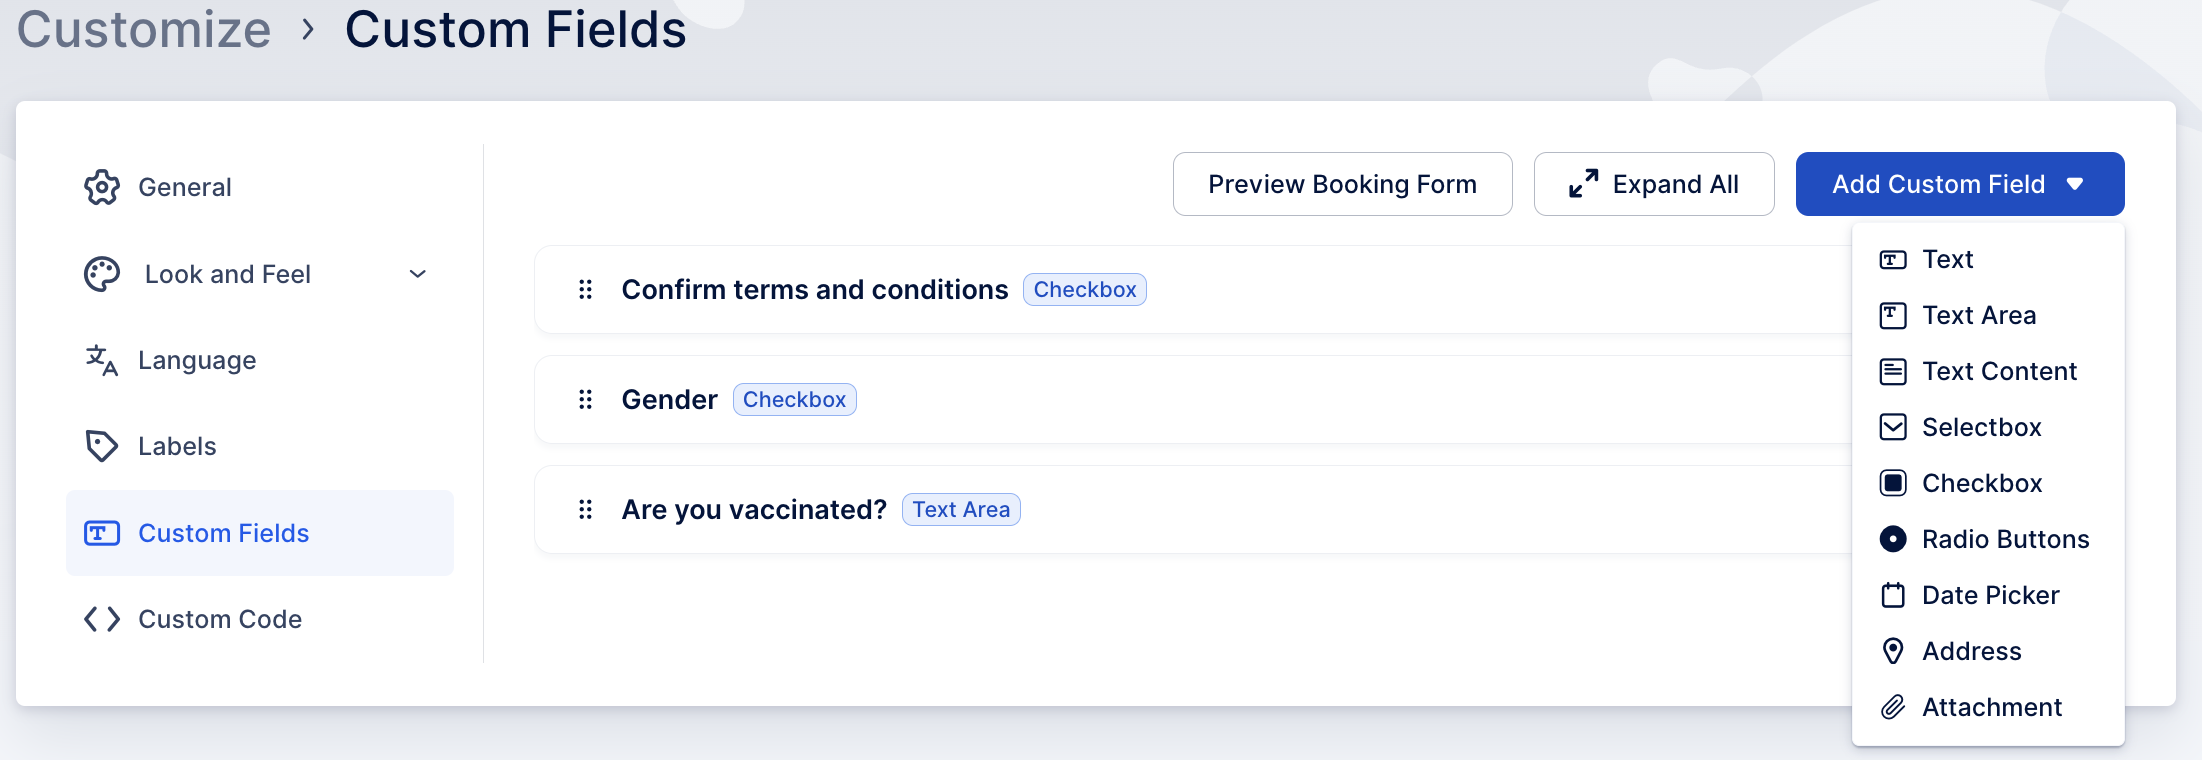
You can choose between several types of inputs: Text, Text Area, Text Content, Selectbox, Checkbox, Radio Button, Date Picker, Address and Attachement.
Custom fields for Trafft is a custom feature and it counts to the number of your Custom Features & Integrations.
How to enable custom fields
As for all custom features, you would need to open Settings/Features & Integrations and navigate to the Features tab. You will see the Custom Fields feature that you need to Activate in order to use it.

1. Click on the Activate Button like on the image below.

2. After activating, click on Configure button.
3. You will be prompted to Customize section. After the Custom Fields feature is activated for the first time, you can always access your custom fields under Customize/Custom Fields. See the image below.

Now you are ready to create your custom features. You will see one sample custom field but you can delete it or change it. By Clicking on the 'Add Custom Field' button on the right, the drop-down with the types of custom fields will be listed, and you can choose one of them.
When you added the desired type of custom field, you can define Label (1), Placeholder (2), for which services it will appear (3). Also, you can choose whether the custom field will be required or optional, by moving the toggle (4). Additionally, you can choose how much space does the field should take in the booking form (5), or if you want to display it in a new row. (6)

URLs added in the Radio Button, Checkbox and Text Content custom fields will be displayed as links on your booking form, so you can also guide your customers to other pages through these links

Address custom field
When booking an appointment, you can set your customers to enter their addresses as well. This option is directly linked to Google Maps. Once the customer starts entering the address in the custom field on the booking website, the dropdown will show addresses found on the map so the customer can select one.

On the Calendar and Appointments Page where you can see the information about the certain appointment, it will also display the address in the form of a link. So, once the link is clicked it will open the Google map in a New Tab.

Think carefully about what you want from your customers and start building your Custom Fields.